Showing posts with label purse. Show all posts

Friday, February 24, 2012

The Isabel Bag, A Variation

I've been working on different variations of The Isabel Bag and here's the first one!


I started by making it bigger, actually almost twice the original size. To give the body of the purse some visual interest I gave it a top panel and added some piping. I made the strap adjustable so it can be worn on your shoulder or crossbody.


The inside is super roomy and has a ton of pockets! On one side I added a zipper pocket and some divided pockets. I always carry pens and hate digging through the bottom of my purse for them so I love having slots for my pens!


On the other side there is a taller divided pocket that will hold some larger items. The bag closes with a magnetic closure. 

I have a few more ideas on ways to change up this bag that I hope to work on in the next couple of weeks. Designing my own bags is fun and challenging, not having a pattern to follow means a LOT of trial and error! I  don't have as much extra time now that I have orders coming in, 2 craft shows next month to prepare for and my kids are busier then ever! I'm learning to balance my time as I go along by keeping in mind what's really important and reminding myself that Rome wasn't built in a day, lol!

Saturday, February 11, 2012

Pleated Purse

The first purse I ever made was this pleated purse. It was right before Christmas so guess what everyone got as gifts, haha.

 I had originally bought these fabrics for a dress, but wanted to try something new. I've been hooked on bags ever since!

Then I found a pattern for this organizer and loved the idea. It has a few layers of interfacing to both pad and protect your items and also to give it enough structure to stand upright in your purse. They're great for those of us that have more than one purse, it's designed to fit into whatever size bag you have!
 

 I like the details on this purse-the pleating, the handles with both exterior and interior fabric, the flat bottom makes it roomy enough to hold everything you need and there's 2 divided pockets inside.


I was so nervous about adding the magnetic closure that I actually left it out on the first one I made, lol! To my relief it's really easy and now I put them in without a second thought.


 I LOVE this fabric! It, too, was bought with a dress in mind, I was going to make pants out of the houndstooth for my son for matching Christmas outfits...needless to say I never got around to it. Since I started making purses the only clothes I've made were because someone ordered them.

I noticed that I have some things on my facebook page http://www.facebook.com/RGOriginals that I haven't put on my blog, this is the first one. I'm trying to find extra time this week to make sure I have everything I've made on both pages. Crayon rolls with matching reversible totes are up next!


Tuesday, January 31, 2012

The Isabel Bag

Here's a new bag I call "The Isabel Bag" after my baby girl!


She picked the fabrics, she calls the exterior fabric "the pretzel fabric" lol. This is a very basic version of this bag, I have some cool variations, like adding a flap for the closure and making the handle adjustable (plus a few more!) that I'll be working on soon.
   
Until then, here's a few pics of Izzie enjoying her new bag, she wouldn't put it down once I gave it to her! Since we had a really nice day today we got to play outside (crazy Ohio weather, I bet it will be back in the 20's before we know it!)


Sunday, January 29, 2012

Wristlet set

My newest project that I worked on this weekend is a wristlet set that includes a sunglasses case, lipgloss case and phone case that has 2 pockets. It was a long process so I thought I'd post not only the finished pieces but also some of the steps along the way. To start, here's the completed set...


Now that I've made the first set and worked out a few kinks I can't wait to make more, it's so cute! The pattern for this came on a HUGE tissue pattern paper filled with about 30 different patterns! Luckily I had seen a post about using freezer paper showing the easiest way to trace patterns from these. I think the kids thought I was crazy, but this was the best way to see through the freezer paper. The sliding glass doors were the only thing big enough otherwise I would have had to move it each time I traced a new piece.


I got really excited when I was done tracing all the pieces, but once I finished cutting them out I started wondering what had I gotten myself into!


It was right after this that I got stuck, is was kind of like writers block. I had traced another pattern that day from that same huge paper, got a new book with a few bags I wanted to make, and then went shopping and got a bunch of new fabric. It was almost as if I had too much in my head at one time and couldn't figure out where to start! I talked to my sister and Jeff a few times trying to sort everything out but it wasn't until my sweet baby girl said to me Friday morning when I was on the computer "Mommy, I thought you said you had sewing projects to do, so what are you doing?!" Hahaha, motivation from a 4 year old! I actually had a busy day already but managed to get all the fabric cut and interfaced (luckily less then half needed it-I HATE interfacing!)


I finally sat down and really got to work Saturday, determined to get it finished. Much to my dismay I figured out halfway though the wristlet that the directions were wrong and the zipper they called for was about 3 inches too short!! I had already been to the fabric store earlier and was not going to waste any more time so I just made do by cutting off 1 1/2 inches off the sides of the bag. It was frustrating and took a bit of work to get it to look right, but it turned out ok. I'll use the correct size next time! I also changed the pattern a bit by adding a swivel hook to the strap so it can be removed easily.

(ugh! sometimes my pics rotate when I post them and even Jeff can't figure out why!)

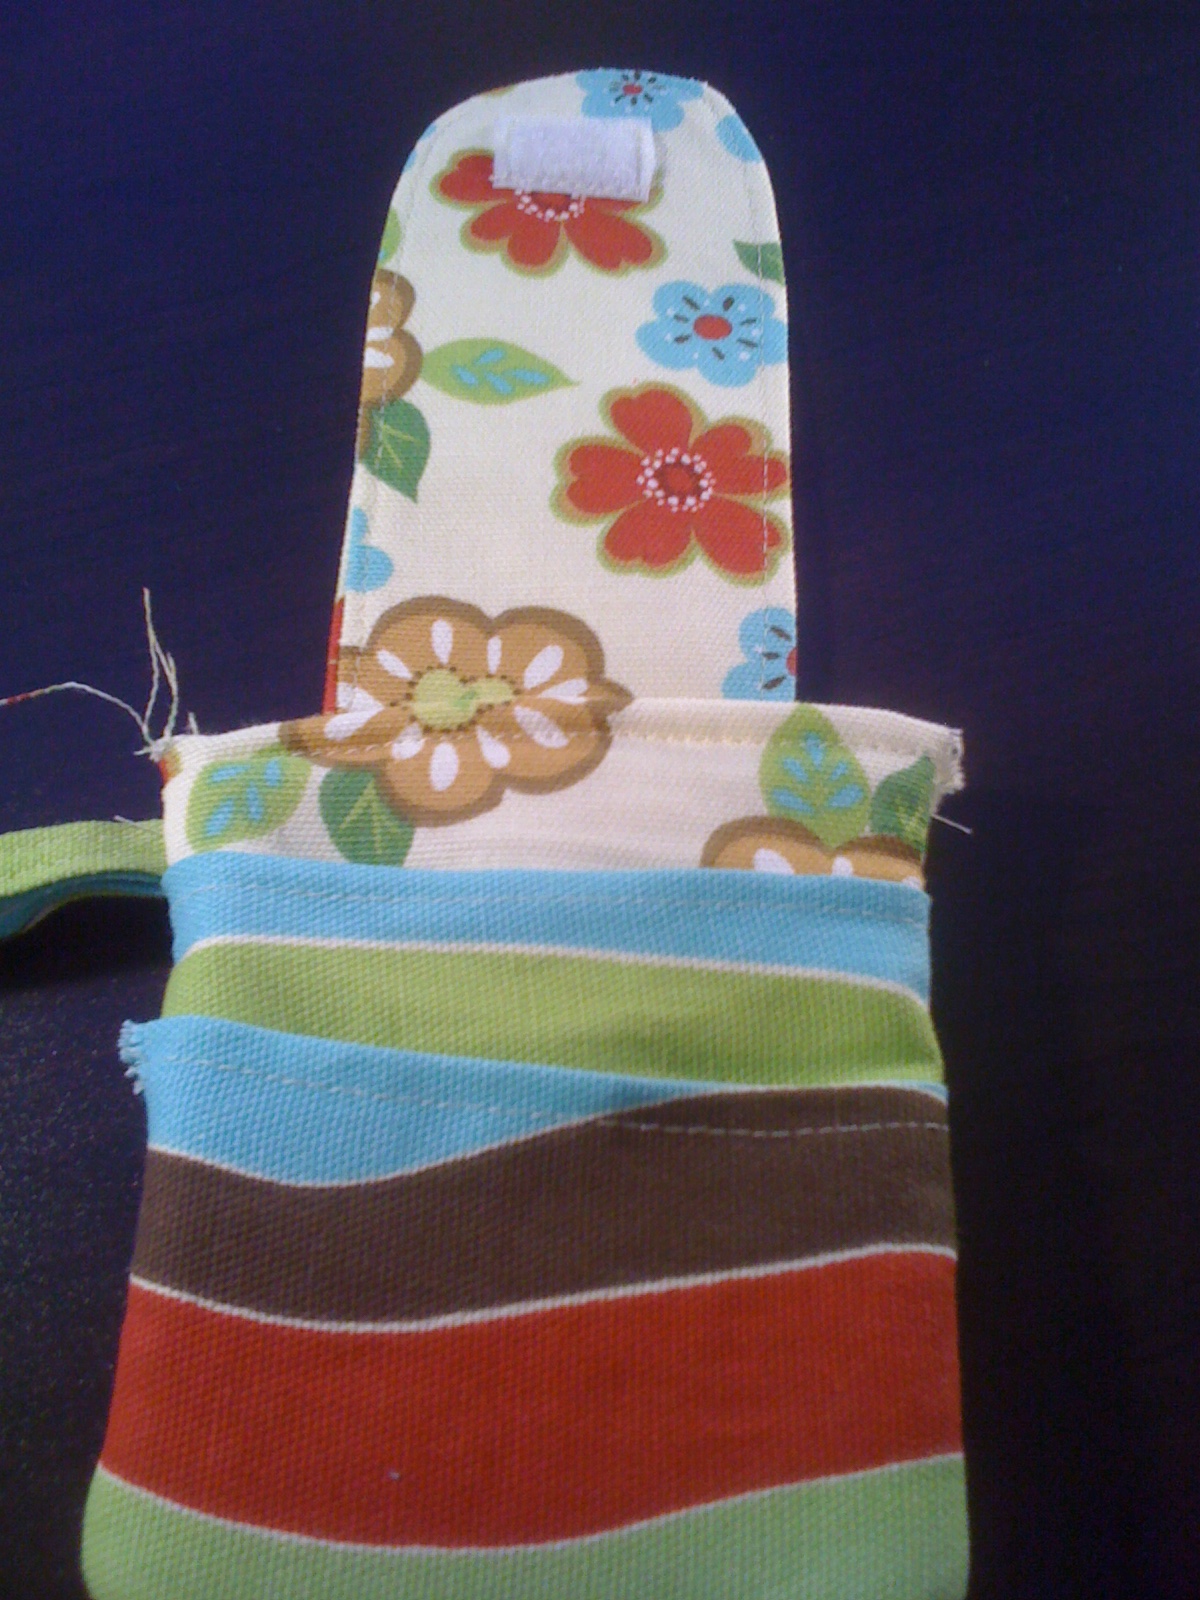
I love the cases with this set! They go great all together or can be used separately, plus they can be used for whatever your heart desires! First I made the phone case. It holds my iPhone with plenty of extra room and it has fleece lining to keep your phone protected. It also has 2 nice pockets to keep money, ID, or credit cards.


Next I made a sunglasses case. It is also lined with fleece to keep your sunglasses safe inside your bag. Like the phone case, it has a flap with a velcro closure. I'm so glad my sister talked me into using the buttons, they really add a nice touch!


Last, but not least, is a lipgloss case, it's a great size for your make-up though it can hold any of the little things usually floating around at the bottom of your purse. It has a larger flap with velcro closure to keep your smaller items put!


I had a lot of fun and my fair share of stress making this set. Thanks to my sister's advice I got to try something new-fabric covered buttons. They were fun to make and really add to the little cases. The 3 I used helped me learn about fabric placement for each button and also placement on the flaps...I've been getting a lot of practice with hand sewing lately! You can buy kits at the store to make your own, I can already see lots of projects using these coming in my future!


As if the misprint on the zipper size wasn't stressful enough, I misread the directions on the phone case and made a crucial mistake...oops, I missed to directions for adding the velcro to the case!! I noticed the bottom pocket wasn't straight and then the seams came apart! I ended up having to start from scratch and make another one, the first one was a MESS!! I learned from my mistakes and was a LOT more careful in the construction of the second one!


So there you go, a wristlet with 3 accessory cases! I know I could have just shown you the set and the individual pieces but it was an interesting journey to get this project done and I wanted to share it. 

Like I said earlier, I have a LOT of ideas and a bunch of new fabric so keep checking back for fun new projects! If you see anything you want please leave me a comment, anything I make can be made in (almost) any fabric I have and I like doing custom orders. The next order I'm working on is for a friend that wanted the elements of 2 different purses I make combined so I've designed a whole new purse for her! I'll be posting pictures of that next week hopefully. I also have pictures on my facebook page that I haven't posted on here yet, crayon roll and tote bag sets, a purse and purse organizer and a few dresses, skirts and hair accessories, those are all coming to the blog soon!
Have a great day!!

Wednesday, January 18, 2012

New projects and orders

     After a lot of thought, some advice from my sister and many conversations with my loving CIO (lol, I love calling him this) I have decided to take the next few months to concentrate on making purses and bags and hold off on starting any new clothing projects. I only sewed sporadically before this fall so everything I'm doing is basically new to me. It makes more sense to focus just on one area at a time rather then trying to learn a ton of stuff all at one time. The more experience I get in bag making the less time it takes to make each one, and the better they look. Here are a few of the things I've been working on...

This is the purse I made from Jeff's mom's old pleated skirts. Those skirts yielded 4 yards of fabric each after I seam ripped all the pleats!! This was fun to make, but I plan to change the design up just a bit  before I make the next one. I only have enough of these 2 fabrics left for one more, which Betty already requested. I will post better pics once the new design is finished.

OK, lol, this pic rotated once I posted it and I couldn't get it to go back! This is a cute little zippered pouch, I love these fabrics and think the red zipper and piping add a nice touch and make the fabric colors pop!


Here's a new bag that I made this weekend. I love the long strap, the shape of the bag, and the fabric! I used duckcloth for this bag and it's lined with fleece which makes it both sturdy and soft. The opening of the bag was a bit difficult so I think I'm going to work on the sizing a bit, but keep the idea the same.

This is a baby seat cover the preschool asked me to make. It was actually a difficult project considering I only had a very old, worn cover to use for reference. I was SHOCKED when I took it to the school yesterday to try it out and it fit perfectly!! I only made this one to make sure it fit (I was sure I would have to make tons of adjustments) so now I have to make 3 more. It's lined with fleece and I used a big soft blanket for the back to  protect the fleece and add more softness. I serged the edges of each of the 3 main pieces before sewing it all together knowing they would be washed frequently, I figured it would help them last longer. The school was going to reimburse me for the materials and then pay me for my time but we agreed on just putting that money towards tuition, yay!!

I still have another order I'm working on (goose clothes, don't ask...it's money right?!) and some I haven't yet started (4 crayon rolls and totes, a dress, a purse and a laptop bag.) Luckily everyone is pretty casual right now about when they want their stuff done which allows me time to work on creating new stuff at the same time without being overwhelmed. Right now though I need to go back to daily life and get to the grocery store! Have a good day :)